You can use this guide to make:
- Rocks Floating in Lava
- Mountainous Terrain
- Shattered ground
- Swap-lands
- Icebergs
Tools/Supplies Needed:
- A Base
- Hobby/Craft Knife
- PVA Glue
- Cork-board
- Additional Basing Supplies (Optional!)
 |
| Base of choice. |
 |
| Lightly cut several lines into the base..... |
 |
| .....Until it looks something like this. |
 | |||
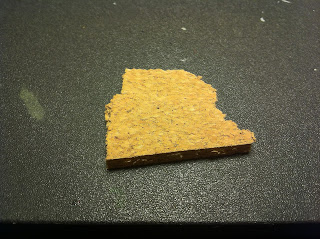
| Square foot of cork-board. [Thickness by preference.] |
 |
| Break off a piece roughly the size of your base. |
 |
| That looks good. |
 |
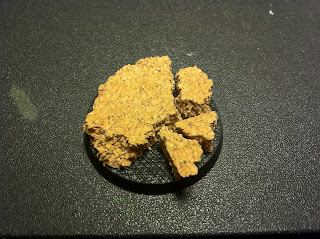
| Break the chunk down into pieces that you think look good. |
 |
| Dry-fit the pieces on the base before gluing to find the look that you want. |
Step Four: This is Optional.
 |
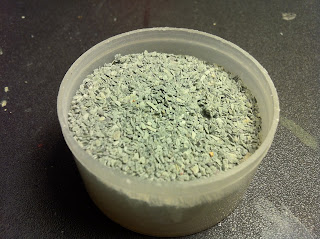
| Grab some of your preferred material. ["Counts As" gravel in this case.] |
 | |
| Fill the gaps of the base with your preferred material. [Some people prefer to do the "pinch'n'sprinkle" technique.] [I'm a fan of the "throw-the-whole-thing-into-the-tub" technique.] |
Step Five: Done.
 |
| And now it's ready for priming. |
I hope this guide helps!
~If you end up using this guide, send me a picture! I love seeing other peoples work.
~Know how to do it better? Post it in the comments.
~Painted in part 2.


No comments:
Post a Comment